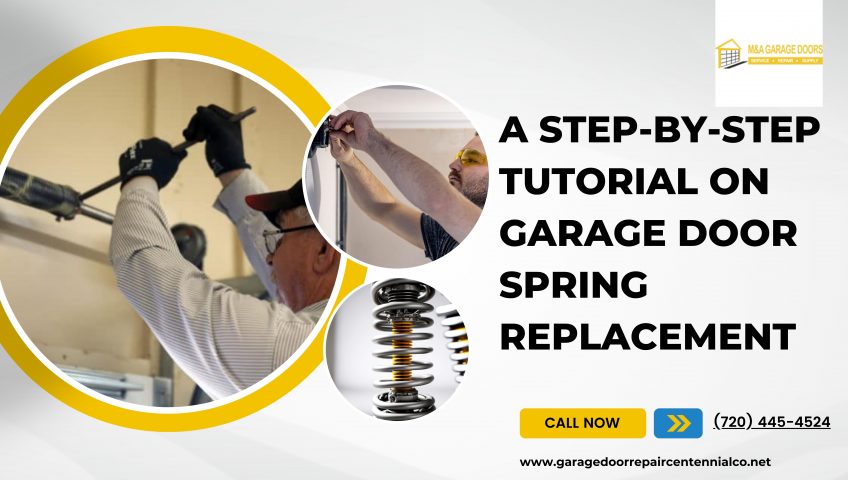
A problem with springs may be the cause of a loud noise your garage door makes, such as the sound of metal against metal. Before DIY garage door spring replacement, spend some time researching what has to be done. It is not an easy process and may even prove deadly if done incorrectly.
Fortunately, you can replace garage door springs securely with the help of this detailed step-by-step guide, and you’ll be able to rest easy knowing that everything is back in working order!
Why is Garage Door Spring Replacement Important?
Replacing garage door springs is essential to keeping your garage door operating as safely and optimally as possible. The weight and continuous movement of the door gradually wears down and may eventually fail the springs. An unbalanced door might put stress on the opener and other parts due to failing springs. Replacing the door on time guarantees flawless operation, avoiding unexpected failures and possible safety risks.
Ignoring worn-out garage door springs can result in expensive repairs, unanticipated malfunctions, and compromised security. Homeowners may proactively protect their belongings, cars, and loved ones while assuring the durability and effectiveness of their garage door system by making garage door spring replacement as well as garage door cables repair a priority.
Garage Door Spring Replacement: A Step-by-step Tutorial
-
Turn Off the Garage Door Opener
First, disconnect the garage door opener from the power source or unplug it. By taking this precaution, you may be confident that when you are working on the garage door springs, the door won’t unexpectedly open or close. To further stop any movement, turn on the door’s manual lock.
-
Alleviate Tension in the Old Springs
The garage door springs are quite tense, and it is important to release this tension securely. Find the spring that needs to be replaced first, then release the tension with winding bars. To release the tension, insert the winding bars into the winding cone while maintaining constant pressure. This process should be done carefully because an uncontrollably released tension can cause great harm.
-
Take out the Old Springs
After the tension is removed, take out the bolts holding the springs to the brackets with the socket wrench set. Taking note of their orientation, carefully remove the old springs from the torsion tube. Even if only one spring seems to be broken, it is still a good idea to garage door cables repair and springs at the same time because their lifespans are probably not that different.
-
Put the New Springs in Place
Make sure that the new springs are positioned correctly in relation to the winding cones by placing them onto the tube. To fasten the garage door springs to the brackets, use the socket wrench set. Securely tighten the bolts, being careful not to overtighten as this could compromise the spring’s performance.
-
The New Springs are Winding
Use the winding bars to progressively increase tension when the new garage door spring replacement is done. Turn the winding bars in the manufacturer’s recommended direction after inserting them into the winding cone. To keep equilibrium, wind on both sides in a steady and regulated manner.
-
Examine the Door Balance
To check the garage door’s equilibrium, manually raise it after winding the new springs. When lifted halfway, a properly balanced door should remain in place and not move on its own. If the door is heavy to lift or falls, there is an imbalance and the springs need to be adjusted further.
-
Attach the Garage Door Opener Again
Reconnect the garage door opener to the power source once you have verified the balance of the door. Ensure the door opens and closes properly by testing its automobile operation. If problems arise, check the spring’s tension and make the required adjustments.
-
Lubricate the Moving Parts
Consider lubricating the garage door moving parts, such as the garage door springs, rollers, and hinges, to ensure their longevity and smooth operation. This easy maintenance process eliminates wear and tear on the components and lowers friction.
To guarantee a safe and effective garage door spring replacement, it is advisable to seek professional assistance if you are experiencing uncertainty about any part of the replacement process.
Wrap-Up
In conclusion, you can approach the work with assurance and safety if you follow this step-by-step tutorial on whether you need garage door cables repair or spring replacement. During the process, keep in mind to take safety first and use caution when handling the garage door springs’ high tension. Frequent upkeep, including lubrication, will extend the life of the garage door.

